
Another plast from the past it is today !
Since many of the models I paint are at least 20 years (or more) old, how could I be more oldschool ? Well with paintjobs that are 20 years old of course !
Just as a reminder those you're about to see are not the first I unearth from the treasure chests :
Part 1
Part 2
Part 3
These are a little different though as they're some of the very first metal models I ever painted. Bought in 1991 along some tzeentch champions and all sorts of eldars. I was absolutely delighted to see them again after forgetting them for about 18 years. These bear my "touch" from back them with all the things that are wrong.
Just look at those splendid shadings in the skin, those eyes full of life and those big fat veins painted in blue ! Oh and look at the blending on the tail !
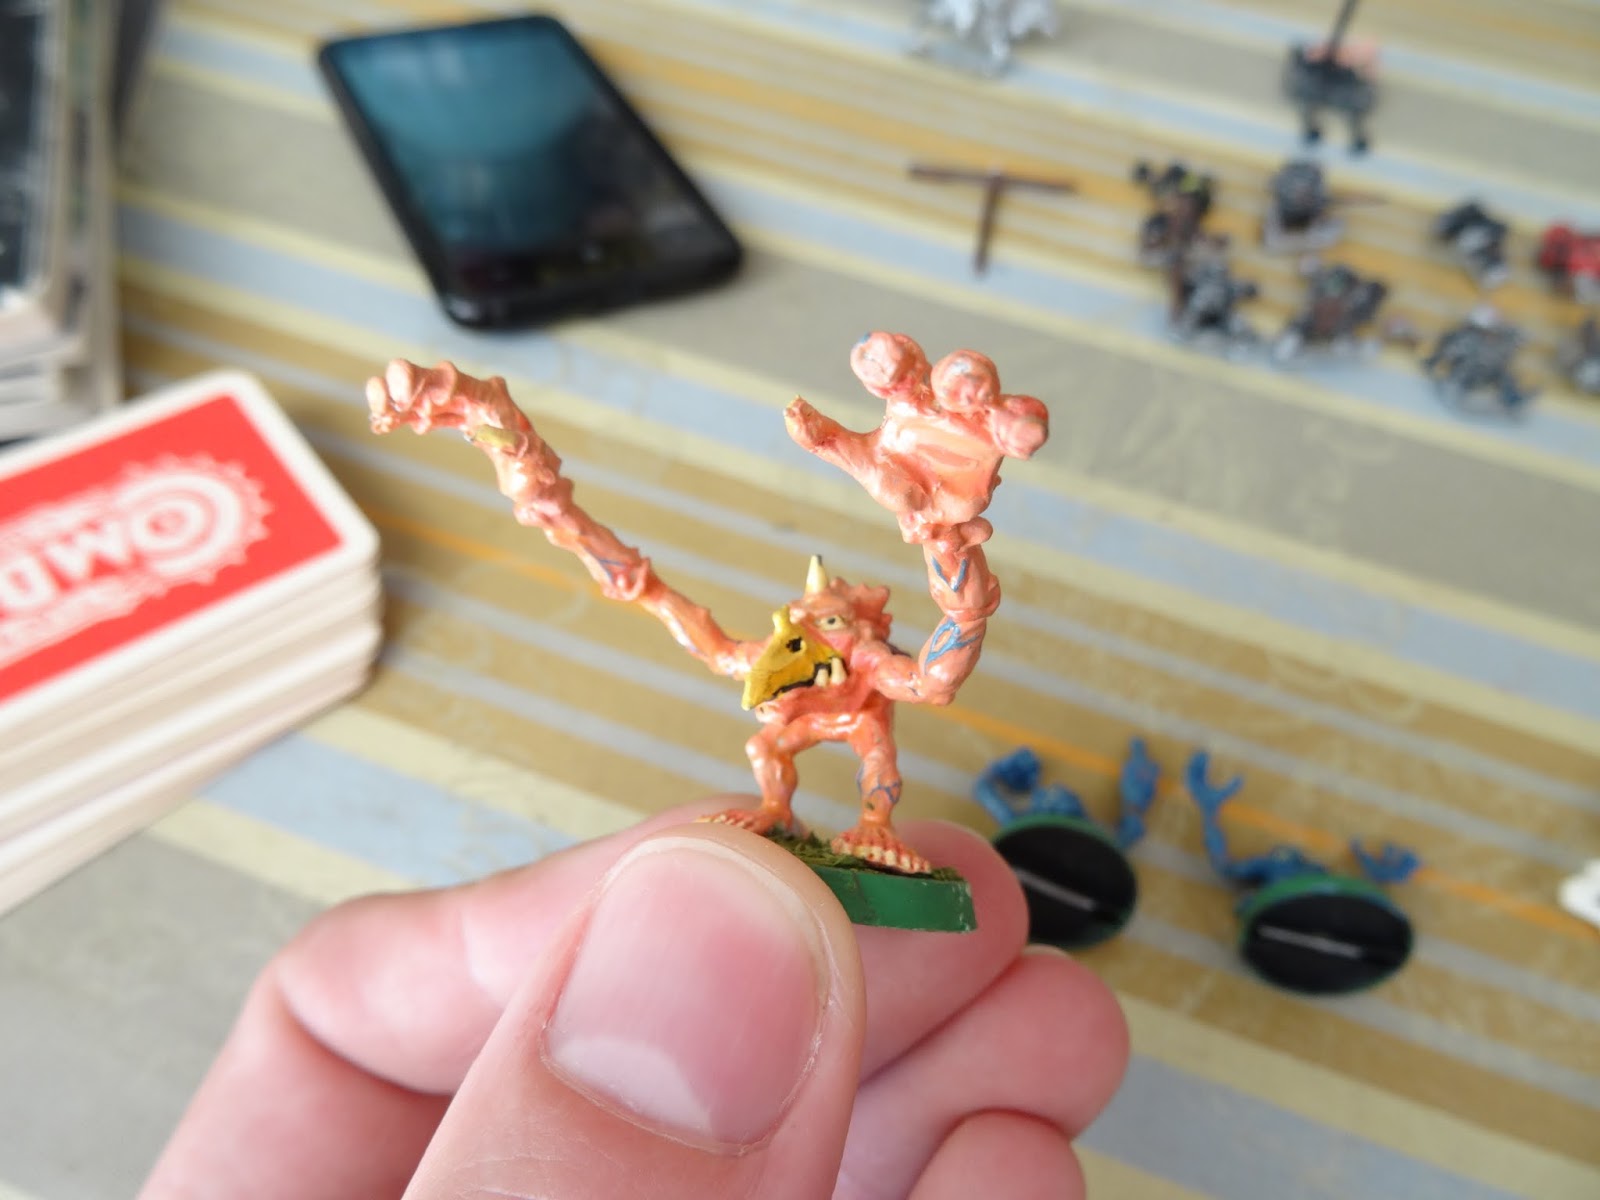

It seems I must have learnt about blacklining at that time, you can see how I subtly used that to help define contrasts. Oh and look, the veins have become pink now the skin is blue !

Killer look and Jazz hands plus a propainted +++ blending on the tail as well...


And that unique basing that helps make the model look good on about every table...

But how did I achieve such excellent results I hear you say (I do) ? Here's a quick "how to paint models like you're 10 years old in 1991"
- use large brushes, they hold more paint and it's easier to see where you already added paint.
- use enamels, it's what Fraser uses and the turps make you feel high.
- do NOT thin your paints for the simple reason you don't already know you can do it and should do it
- use thick coats to be sure to get a good coverage, thin coats only make you waste time and energy.
- drybrush as much as you can, it's basically the only other technique available apart from basecoating.
- use white to lighten up your colours and black to darken them, you don't get to pick anything else.
- when you need to make the base, just throw some plastic glue over the green paint, throw as much flock as you can on it and then pray all you can so that some of it sticks for some time.
And BAM here you are !
Funny thing is the first metal model I ever painted looked way much better than those I'm showing but for some reason I decided to strip it along some others a few years back without thinking of taking a picture first...
This is my longest WIP I think (started in 1992) :

I tried things here but can't recall where I was headed...
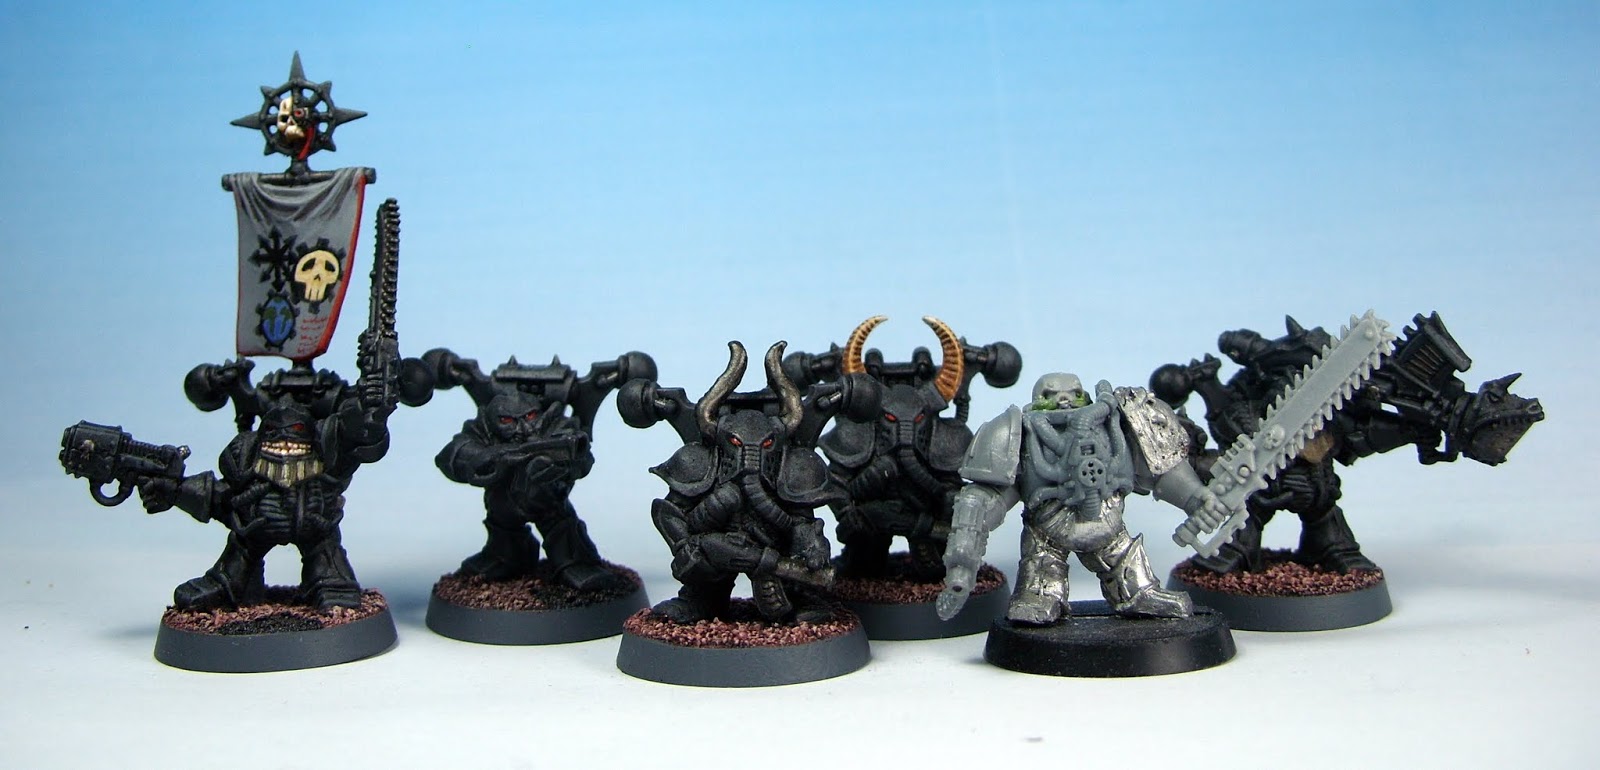
Funny things is that those models were saved in their little cardboard time capsule because I traded them to a cousin for 6 chaos squats in power armour. Those squats were already painted so I just painted over and took the liberty to butcher them like the careless little turd I was.
I didn't take a picture of the result but 2 years ago, I felt the will to redeem myself by fixing them and painting them.
They are still awaiting a new banner that will link all my squads but they're in a better shape than back then !
One of the funny things I also found was a model I just didn't know to exist : a marauder centaur !
I had no idea those existed and I have to say they looked really good and well scaled... (must resist). The eagle eyes among you will also have spotted the Chaos Combat cards on the left side...

Aaaah Nostalgia ! For some reason, I want to open some long shut boxes just to check some old friends. They won't be as old as those but there are still some models I enjoyed making even though they ended looking like crap.
For now...
Your Horrors (description of type, not paintwork!) are still far better than the 8-year-old myself managed to produce with enamels on an Orc Boar Boy boss. I'd post pics but, y'know, not got him anymore. :)
ReplyDeleteFunny how these look far worse than the first 2 I painted actually. I remember back then I was terrified at the idea of painting a model with mostly bare skin like those, I just didn't know what to do (never had heard about washes or anything...
DeletePart of me wants to redo some of them the same way just to see the progress ^^
They certainly look better than my early efforts from 1984, JB. For your age, they look alright (remember this was an age where tuition was a limited source). Using about half a dozen Humbrol enamels was my palette limit at first.
ReplyDeleteIt' strue that those were days where I basically lacked everything, from material to tips. I bought those in one of the only 2 GW shops at the time (in Lyon) and used my dad's old enamels. Learning by oneself is a very slow but rewarding process I find (only a bit frustrating at times).
DeleteI think I mentioned before that my Dad would only buy me basic enamel colours as he believed I could mix them to make colours I wanted. He never really approved of me collecting and painting figures anyway. You're right, teaching oneself and only studying eavy metal pages etc can take time to hone skills but I agree it does prove rewarding.
DeleteI can understand, at first my only enamels were meant to paint warship and tank models, I can't tell you how fun it was to get those pink and blue pots ;)
DeleteHa Ha, Blessed be the dry brush!
ReplyDeleteI currently have some early Space wolves soaking in some dettol. It looks like my brother and I painted them using a tooth brush! Or just dipped them in the paint.
I guess we had never heard 'less is more'.
AHA, it took me about 15 years to fully understand how important thining my paints was, my girl friend at the time painted her first model and it looked better than any I had made at that point, I asked her how she had done that "I just diluted the paint more, I could work with it otherwise..." She blew my mind that day... too.
DeleteAt least those inch thick layers of paint have the benefit of preserving the models from aging don't they ?
true enough.
Deleteif anyone asks me what my early painting influences were I answer "White spirit fumes"!
It's the only way I can explain some of my early colour palettes!
Oh don't get me started on those fumes, I thought at forst by boiling the white spirit you could actually strip models with it... I'm still wondering how our house didn't burn...
DeleteWell that would be due to asbestos!
DeleteHa ha memories. The fumes of enamels and thinners, caked on paint, sawdust 'flock'. Great post!
ReplyDeleteSort of a "madeleine" I suppose ! ^^
DeleteCheers.
Hey ! J'ai exactement le même centaure à la maison. Si seulement la moitié chevaline n'était pas en plastoc :(
ReplyDeleteMême expérience avec les enamels et des couches si épaisses que 20 plus tard, je préfère racheter les figurines sur eBay plutôt que les décaper...
J'avais totalement oublié ce centaure mais je trouve qu'il est terrible et pour le coup même si la moitié équine est en effet en plastique et pas super je trouve que ca va et que c'est al partie la plus facile à "rattraper".
DeleteCertaines des figs peintes à la humbrol ont nécéssité un nombre déraisonables de bains à l'acétone et au Dettol pour venir à bout de la peinture ^^'
Merci à toi !
Lovely tips there JB :)
ReplyDeleteI remember that I wasn't allowed (quite rightly too!) to paint my minis with enamel paint in the house. So I used to use my dad's work bench in the garage....in & amongst all of his tools etcetera. Oh, and the painfully slow drying times really did my head in too back then. I don't know how many minis I stuffed up by testing if they where dry by picking them up....finger prints on the face anyone?
Acrylics were a real boon for me, painting inside, yeah!!!!!!
True that, switching to acrylics was a godsend, it took me a while to cope with the fast drying time but mixing, thining and all were so much easier plus I didn't get complains about the smell (well I still did but it was the smell from my socks lying everywhere).
Delete