
Hey there, Pretty chuffed to show you these today, I've been working on a bit of scenery as a back burner and it's starting to pay with many pieces coming to an end (and many more still in progress ^^').
Now today is special since it's also the opportunity for me to reveal one of the latest Fogou designs for a most excellent range coming !
We're mostly all familiar with Starwars, Madmax or some of us might even be into more historical settings, bottom line being we're mostly all interested in getting good looking adobe buildings right ?
Well look no further, these are the ones !

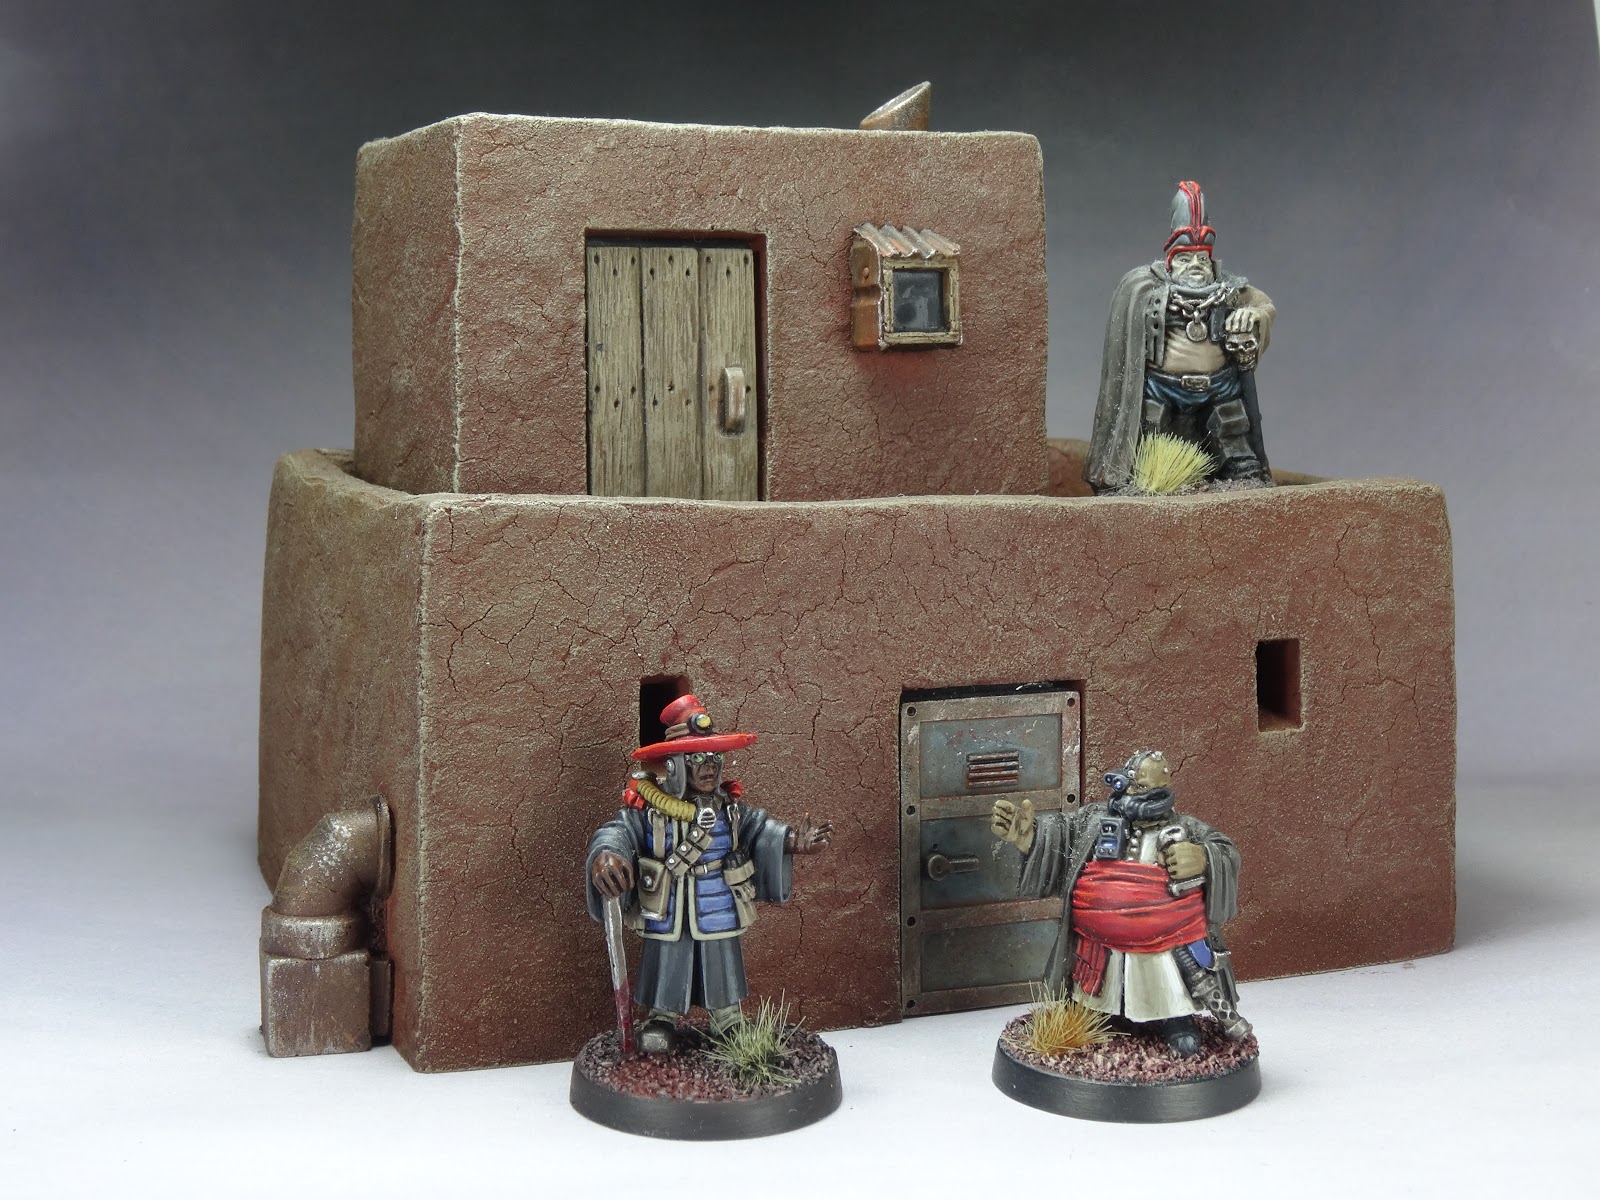
As you can see, the building is fully modular with detailed interior so fully playable, that's a real advantage to me, wether you want to play or just take scenic shots, this is a considerable advantage.


The second one is Brother Brownpony's bar , an older reference with the same kind of removable storeys and playable interiors.


Now the last one is a bt different since it's a concrete block building, this is Vozzgrud's Vault, an excelent piece which will perfectly play its part as a power facility or bunker.


Now while I was painting those and chatting with Fogou Chris, we thought a little tutorial might be fun !
First of all, you have to know that the new adobe buildings come in a very clever sand colour. If you forget the added bits I glued on to sic-fi those up a bit, this means you could paint them right away without even a primer or a basecoat !
This is due to :
- Fogou casts don't use release agent, this means a thorough washing session is not required
- There is little to no preparation work required either, I usually just sand the bottoms extra flat but you could skip that.
- the fogou resin is extremely paint friendly and LOVES paint,
Now with the resin already coloured and textured, all you could do is throw a few washes and drybrushes on those and they'd be ready. Of course pics are better proofs than any word can be so expect to see that illustrated by others soon !


Now I didn't go with the basic colour because I wanted to paint the other pieces I had in the same colour scheme and they were not in the coloured resin to begin with. Also I wanted something which could blend on my table and existing stuff.
The base coat was a deep reddish brown followed by a semi zenithal spray of light brown to catch details.
The base coat was a deep reddish brown followed by a semi zenithal spray of light brown to catch details.
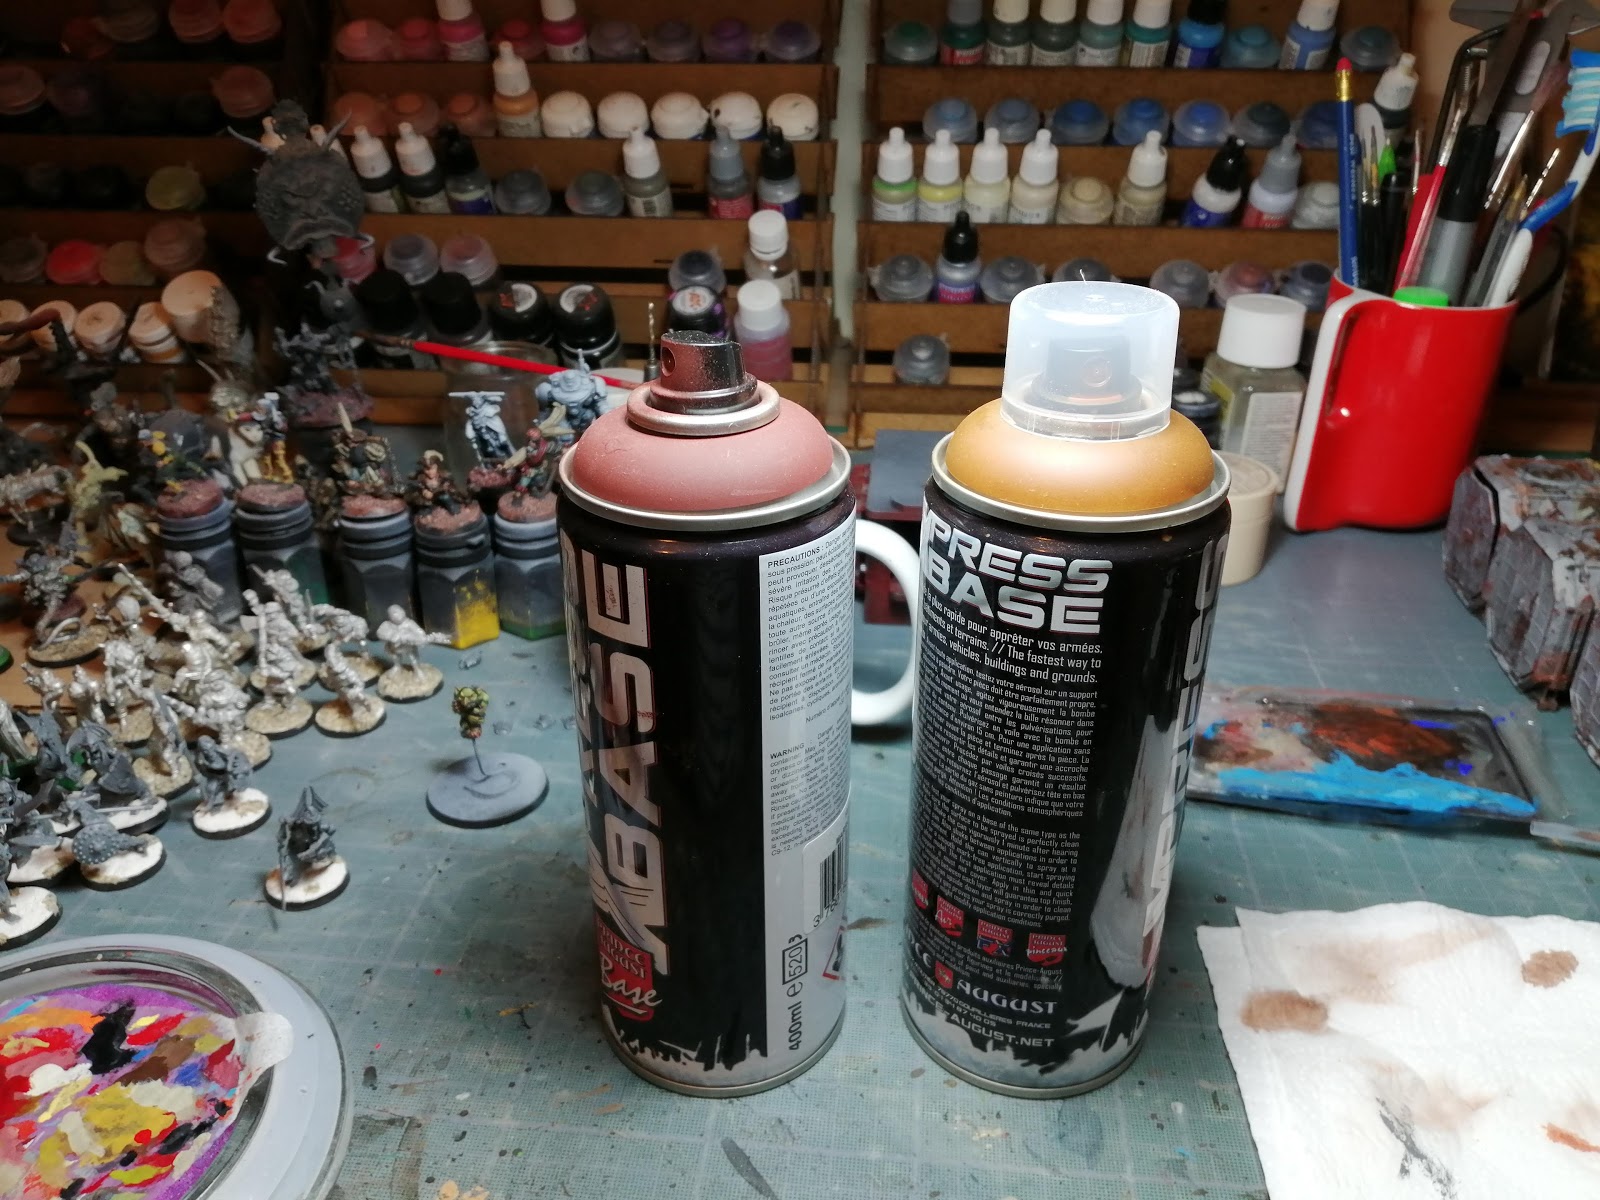


The concrete slabs above and the concrete building below were sprayed with black, grey (45°) and then abit of white (zenithal) with a few sprays of teh reddish brown in some places before the grey.
To achieve the spots on the plain slabs, I just halfway pressed on the sprays to get as many drops as possible. Don't mind if the spots are too visible at this stage, a few washes will blend them in.
To achieve the spots on the plain slabs, I just halfway pressed on the sprays to get as many drops as possible. Don't mind if the spots are too visible at this stage, a few washes will blend them in.


Next step were washes. Now I really love those Vallejo washes for scenery, the pgments are really fine and run in every crack, they're rich and easy to apply and you can play with them while wet.
I usually mix half black half brown mixes with a tiny little it of water (not much really) and play with them, placing them where I want, then after they've tried a bit (a minute or so, just the time to do the entire thing and come back to the starting point, I rub them with my fingers or a tissue to remove any excess and blend it. It works a treat, the more textured the surface, the better it works.
I usually mix half black half brown mixes with a tiny little it of water (not much really) and play with them, placing them where I want, then after they've tried a bit (a minute or so, just the time to do the entire thing and come back to the starting point, I rub them with my fingers or a tissue to remove any excess and blend it. It works a treat, the more textured the surface, the better it works.


Then I selected a very light brown with a slight greenish tint to drybrush, the idea is that the green tint being the complementary colour of red underneath, it will soften and desaturate the base colour below. I want my adobe to look like it's undergoing heavy UV rays and acidic rains, much worse than anything on earth (now).
It's followed by a sligt drybrush of stone grey (with a drybrush of the mix in between) with top to bottom motions to really catch light on raised area and reinforce the zenithal lighting.
It's followed by a sligt drybrush of stone grey (with a drybrush of the mix in between) with top to bottom motions to really catch light on raised area and reinforce the zenithal lighting.


Once that was done, metallic parts were basecoate in warplock bronze and stippled with an old brush with browns and orange. A brown wash and some leadbelcher applied with foam and it's done. Just add a few washes or extremely diluted skrag brown and cadmium red (last 2 below) in the recesses to simulate rust and you're good.

Now with all the terrain frenzy I thought it was the occasion to paint those containers as well and use the opportunity to test the salt weathering technique helped by my kids (aged 5 and 8), it was quite fun I must say and although it's not exactly perfect from a close inspection, it cetrainly sells the idea of heavily corroded and weathered steel boxes so works for me !


Amongst all the bits I had I also remembered I had won those food booths thaks to the miniature in the middle. It took me a while to paint those as I was'nt sure how to apprach them but in the end, just basic work and a fair bit of weathering just did it, I'm really looking for quick and effective with such piecesn it's not worth spedning much time on mdf kits and I believe quick straight to the point paintobs suits them more. I'm actually quite fond of these two bits now and I'm eager to put them on a table !

Last summer, I did paint a few obejctive markers for a Terminator game and never got to blog them so here's a corrupted computer (with a fitting blue screen of death) and a time nuclear bomb (7 seconds away from exploding it seems). I also got some liquid nitrogen tanks from Fogou (because with terminators around you either want that or molten steel really)

Now since my kids enjoyed weathering the containers, I got my 5yo son to paint these crates and I'm pretty happy with his work ! He's enjoyed it a lot and I have more stuff painted so best of both worlds !

He actually started with this piece (miscast kindly offered by Ramshackle games) and did everything according to my tips. I was stunned by the ideas he had like washing the tops and pulling the ink with his fingers to create streaks...

He was adamant on getting some wee stains on a corner because "dad, dogs really wee everywhere you know"

So here we are, still pleeeenty left to do but still a good bit done so I'm only waiting for the opportunity to use those in game !
Very nice. Loving the containers and the objectives. Your youngsters have done a superb job too!
ReplyDeleteI have to say I was pretty amazed by how good they were, especially my son who looked like he'd been doing that for years when it was his very first !
DeleteYeah your son has the magic touch! The dog piss is such a good idea!
DeleteYou’ve been a busy boy! Now that adobe building is just what I’m in the market for atm. I’ll have to get some when they are available. Lovely job on everything Mec!!!!
ReplyDeleteCheers mec, most of it is rushed to be done but the Fogou stuff paints itself really, looking forward to the KS now ^^'
DeleteLooking great! I can utterly vouch for the quality of the Fogou buildings - they really are a delight to paint. Your approach is refreshingly different to mine. As ever it's making me look at my stuff and wondering if I could or should do things any different!!
ReplyDeleteLove the Grox Tail sign - it's perfectly beaten up and weathered.
No no no, I AM looking at your version and wondering how to alter mine a bit !
DeleteI'll definitely add markings when I get more of them.
Glad you like the sign it was one of those "why not" moments without any proper plan ! ^^'
Very nice work. Great additions to the collection. Who makes the food booths?
ReplyDeleteCheers ! The booths are from Customeeple in their neone city range for infinity, they have a few more bits like those I'm intersted in getting now !
DeleteSo beautiful and so atmospheric:
ReplyDeleteWell thanks, it should be good with a suitable mat and more stuff around !
DeleteThat 5yo kid is pure genius, such attention to detail!!!
ReplyDeleteOwO
I was like 16 when I started and my main concern was slapping paint as neat and vibrant (the old days!) as possible but that *** is into stuff like "streaks" and dog "wee-thering". Holy cow. You should be proud of the little Jhony Blanche you are living with :)
The post has sooooooo much stuff that it's hard to focus here or there. As someone else pointed the cyberpunk food stuff took me off guard.
I was truly amazed, there was so much logic about where rust would go and where paint would flake off, best thing is that he thoroughly enjoyed it and keeps asking for more !
DeleteIKR? My 5 year old won't even put socks on...
DeleteMine won't keep his on for long, mind ^^
DeleteReally great additions to your collection.
ReplyDeleteThere's a bit of everything but the more I grow up the more I realise you need all the little things on a table to help sell the setting so I try to fill my tables now ^^
DeleteCool looking terrain JB!
ReplyDeleteCheers mec, can't wait to use them now !
DeleteGreat job here, loads of solid output. I particularly like the little kiosks.
ReplyDeleteThanks for the painting guide too, it's always interesting to see how others approach those things.
Thanks, tutorials are also a good way to keep a trace for the painter as well ! ^^'
DeletePainting a wide variety of terrain isn't as rewarding when you finish as when you actually put it on the table and see what a difference it makes.
A lot of really good looking and cool stuff mate! Your setups are going to end up looking even better than before. Kudos also for getting your little'ns involved too! Seems they have your grasp of the hobby already.
ReplyDeleteThanks ! To be honest, the thing that pleased me the most was to see he enjoyed it and asked for more, doing like daddy is fine but doing what he likes is the real gem for me ^^
DeleteThis post is spectacular! I love every bit here! I'm specially interested on the adobe buildings, for obvious reasons, but everything is gorgeous. So lovely!
ReplyDeleteHonestly, I've seen some of the new ones and they're absolutely great, cannot wait for them !
DeleteThanks for the tutorial. Interesting to see your approach. Also glad to see the kids getting involved.
ReplyDeleteCheers, it's always good to keep a record of paint recipes when you know you're going to replicate them at some point, memory isn't as reliable as it once was !
DeleteGreat stuff--always good to get the youngsters involved and they do have some very out of the box ideas.
ReplyDeletePrecisely, I love the freedom of mind they have about stuff and we tend to lose over time !
DeleteThanks !
A child's attention to detail is second to none as they still view the "ordinary everyday things" with wonder. Nice call by your son :)
ReplyDeleteYou're exactly right, they have an ability to focus on those little details we've mostly lost which is priceless !^^
DeleteThis is an absolute gold mine of reference material. So much colour ideas and reference material. You've knocked this one out the park, matey. I really like your approach of painting it discoloured by UV to show the age and wear.
ReplyDeleteYou've got yours to an incredible standard do had free rein to try something else and have it make sense with my pretend world 😊
DeleteThanks Curis